Wood Flooring Installation (ปู พื้น ไม้, which is the term in Thai) is fairly a simple task, which involves a few steps, such as:
Step 1: Get the Area Ready
The straightest planks should be used in the first row, with the tongue facing the center of the room. Place pieces inside the expansion opening, the space between the wall and the floor where the wood expands due to heat and humidity. Drill nail holes 1/4 inch from the plank’s narrow side, 1/2 inch from the wall. For the duration of each board, repeat at 6-inch intervals. Wooden floorings add up to the jazz and offer ton textures and patterns to fit in your décor beautifully. For example, With the wide range of colours available, Herringbone Vinyl Flooring, you can mix and match the shades as per your likings
Step 2: Remove The Nails And Countersink Them For Proper Wood Flooring Installation
Face-nail the main few boards in place because the pneumatic nailer is tough to move near the wall. Use nail stroke to countersink it and stuff the outstanding hole with identical putty. Then blind-nail through the tongue at a 45-degree angle. Please make sure the nail is countersunk, so it doesn’t get in the way of the board-to-board connection.
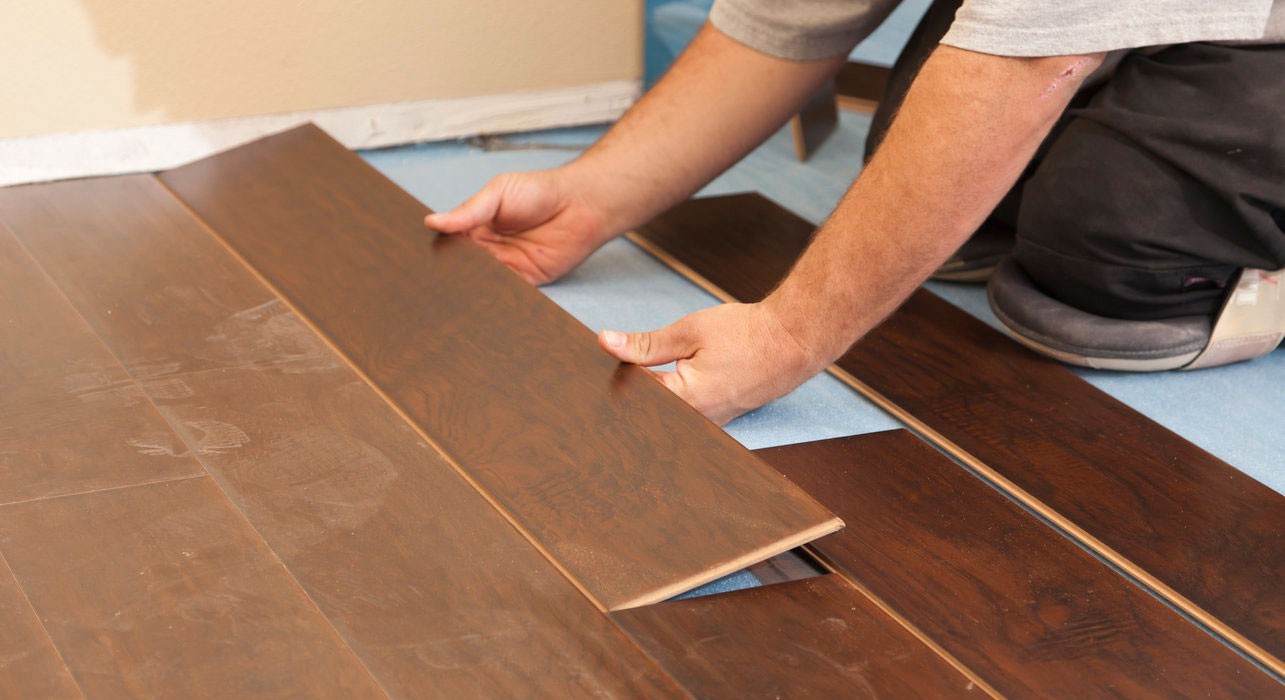
Step 3: Align And Secure The Planks
Lock the tongue and groove on the second row, and use a mallet and block to tap them together for a tight fit between the boards. To create a more effective, attractive flooring pattern, wobble the ends of adjacent boards by at least 6 inches, cutting the final board if necessary.
Step 4: Install The Flooring With A Flooring Nailer
Blind-nail the second row through the tongue and repeat the process until the flooring nailer can be used. Since the flooring nailer needs space to work, it can’t be used until two to four rows of flooring have been installed. Install the nailer’s guarding boot to shield the flooring when using a flooring nailer.
Step 5: Complete The Wood Flooring Installation
Switch back to hand-nailing when you get to the last few rows. Cut the pieces to fit on the last row, minus the expansion gap, by measuring the distance from the wall to the board — not the tongue.
Apply a small amount of wood glue to the tongue and groove if the final piece is less than 1 inch wide. Then, using a pry bar and a scrap piece of wood to protect the wall, insert the piece. If the finished piece is wider than 1 inch, face-nail it, countersink the hole, and fill it with matching putty.
Step 6: Put The Transition Pieces In Place
Remove the spacers and install the transition pieces according to the manufacturer’s instructions. Reattach the baseboards and shoe molding to the wall, not the floor, after cutting the underlayment.